Category Archives: Cooking

One food photography setup

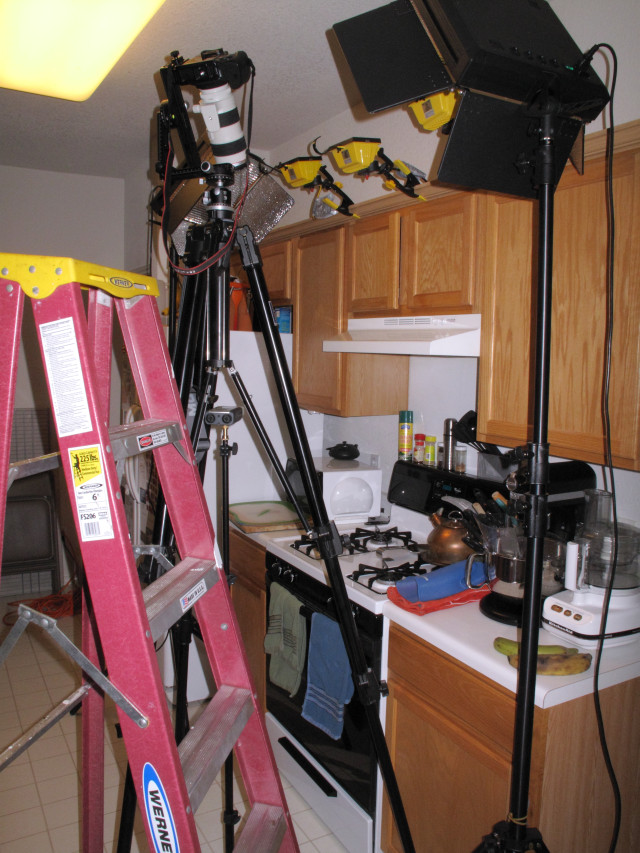
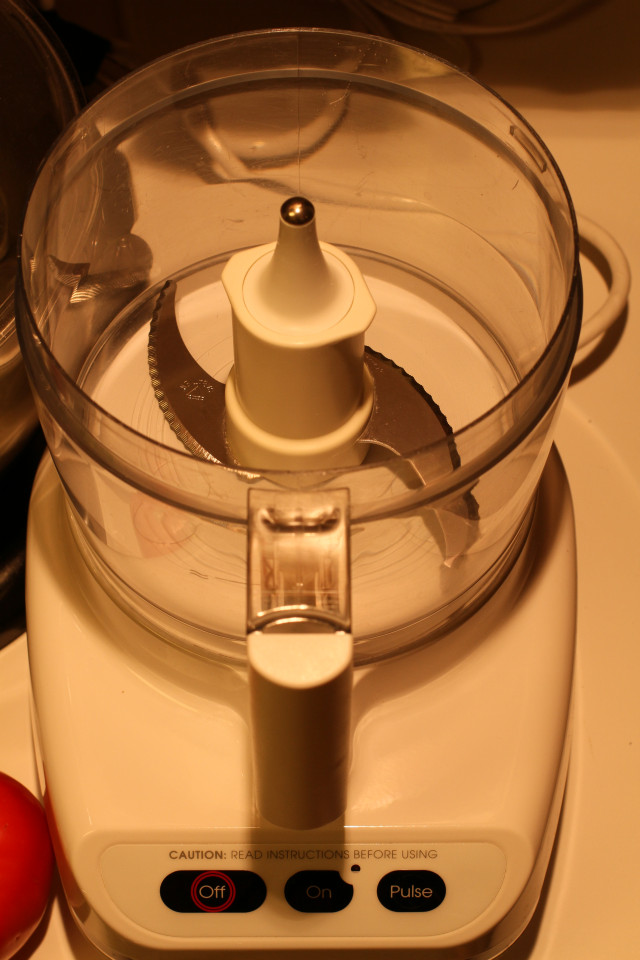
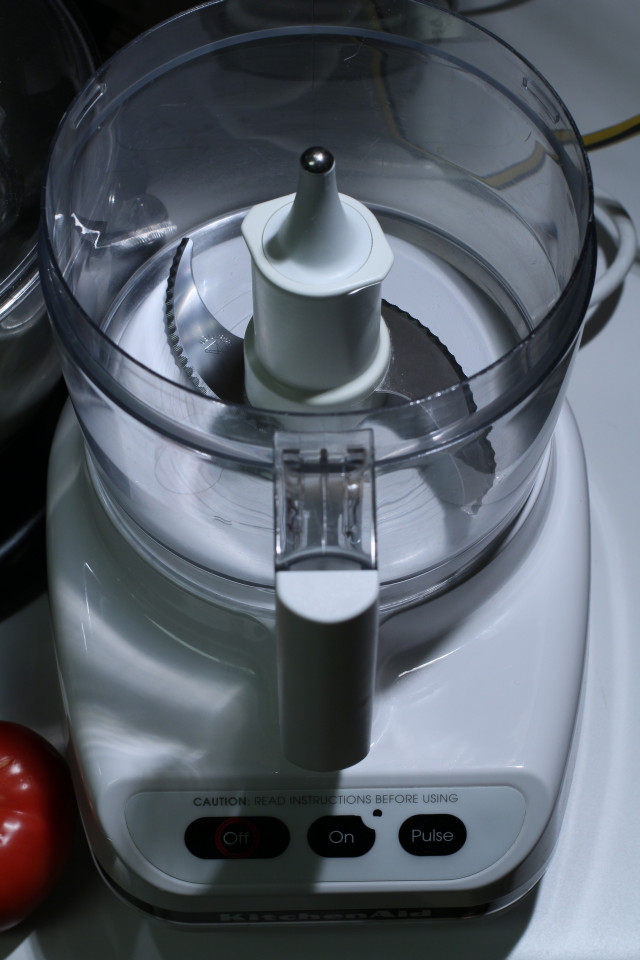
Here is my current setup for food photography using small camera flashes. Each stand is built from:

  • LumiQuest ProMax SoftBox III (35.95)
  • Canon Speedlite 580EX II Flash (404.95)
  • Pocket Wizard AC7 RF HardShield (35.00)
  • Pocket Wizard FlexTT5 Transceiver For Canon TTL Flashes and Digital SLR Cameras (229.00)
  • Manfrotto 026 Swivel Lite-Tite Umbrella Adapter (33.10)
  • Manfrotto 5991B Nano Black Light Stand 6.2′ (56.50)

The camera taking the picture is a Canon EOS 7D. On it, sitting on the hot-shoe, is a Pocket Wizard MiniTT1. And, sitting on the hot-shoe above that, is a Pocket Wizard AC3 Zone Controller.

Tamarind Agua Fresca

Concentrate Cooking Tamarind
Tamarind Agua Fresca

I tried recreating another of my favorite Agua Frescas from the local Mexican Ice Cream store. I bought some “Concentrate Cooking Tamarind” from the Asian section at H.E.B.. I then diluted it with water and added some raw Blue Agave nectar. But it tasted horrible! Very earthy and gritty. Hrm. Maybe next time I’ll try straining it through a lot of cheese cloth…

French Onion soup

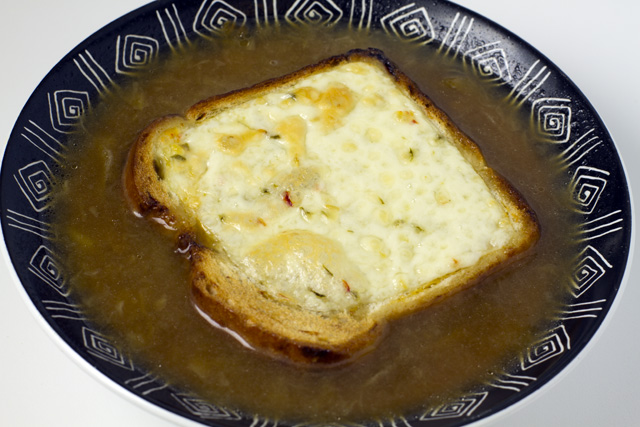
I came across this recipe from Serious Eats and had to try it. The baking soda had some sort of chemical reaction to the onions and quickly broke down the cellular structure. I wonder why.

French Onion Soup

Once I had the oniony paste, I then caramelized some sliced onions the old fashioned way. And I toasted some jalapeno cheese bread in the toaster with a slice of Monterrey pepper jack cheese on top. I also opened up a box of chicken broth. I then combined all of the previous into the finished product. Mmmm… It was pretty tasty!

One reason for constant lighting

I wanted to take a picture of the bas-relief Ziploc logo. Since I am used to taking pictures of food with a flash, I whipped them out. However, capturing the minute detail is hard. Especially when you cannot see the results immediately. How does changing the angle of the light affect the image, or the camera positioning, or the light levels? This process takes time. Which was enough to allow for condensation to mar the smooth surface of the caramel. So I put the caramel back in the refrigerator and took a time out.

When I went back to it, I used my large, diffused led bank. Now I had real-time feedback as I moved the subject around the camera. So, for a time-constrained image use some bright, and constant, lighting.

Making caramel sauce

I bought some new lights recently. Two ePhoto 1000 LED 5500K Professional Video Studio Portrait LED Light Panel Lighting Light Panel. My kitchen is rather dark. Its not next to windows for natural lighting. So it relies on fluorescent lighting. Which is okay for normal use. But not nearly bright enough for video. I tried out three halogen work lights from Home Depot. These are pretty cheap. You can work around the yellow-brown tint. But they put out a lot of heat.

LED lights are the wave of the future. They use less electricity and they run cool. The only problem is with the light balance. But that will become less of a problem as the technology progresses.

This time around, I decided to not talk as I was cooking. And I just recorded the background noises. This meant I had to wait for the refrigerator to stop cooling and turn off the air conditioner.

Now I had to write a dialog and record that track separately. Unfortunately, I forgot to turn off the computer’s speaker while I was watching the video and speaking my lines. And I caught an instant messaging beep at the end. I also didn’t bother with timing out the lines and fitting them to what I was doing on the video. Sigh, this gets complicated rather quickly.

Cooking Caramel from Mark Hamzy on Vimeo.

This recipe is for a quick version of caramel sauce. Instead of using white sugar, you use dark brown sugar. The molasses is what you would normally get when you caramelize the sugar. You also mix the cream in with the sugar and just cook off the water without burning the sugar and milk solids. So I wanted to show you what stages the liquid goes through as the water slowly cooks off. Keep in mind that it will snowball towards the end. Water keeps the temperature pegged at the boiling point until it boils off. Once the water is gone, it will offer no protection and the sugar (and other solids) will quickly heat up.

When sugar syrup is heated, it goes through the following stages (which is how it acts when it is cooled back down in ice water.

Fahrenheit Term Sugar/Water % Description Use
230-234 Thread 80% Forms 2″ threads Syrup
234-240 Soft Ball 85% Ball that flattens Fondant, fudge, pralines
244-248 Firm Ball 87% Ball that holds its shape Caramels
250-266 Hard Ball 92% Ball is hard and firm Divinity, nougat
270-290 Soft Crack 95% Hard, pliable threads Taffy
300-310 Hard Crack 99% Hard, brittle threads Brittles, lollipops
320-350 Caramel 100%? Syrup from tan to brown Flan

Pineapple agua fresca

Given how easy it is to make my lemon-lime aid, I thought I would see if I could replicate another favorite drink of mine: the agua fresca at La Selva Mexican Ice Cream store.

I took some pineapple chunks and blended it in water until smooth. The result was really thick and cloudy. Not at all smooth and clear. Straining it off helped out a little. But I think that I need a gravy strainer for this. Or maybe a siphon.

I also made some caramelized simple syrup to sweeten it with. I really have to come up with an easier way to make this. Basically, you take a cup of sugar and put it in a pan. Dry. And heat it up until it turns light brown. Take it off the heat and pour in a cup of water. The problem is that the browned sugar is 340 degrees and solidifies when the water is poured in. You have to mix it around until the candy sugar melts. Which takes a long time and a lot of work. I think it would be easier to just use dark brown sugar in a cup of water and boil it a little bit to break down the sugar.

I do like the effect that the two speedlites had on the picture. It really darkened down the foreground and background.

Making butter

halogen blender
color corrected blender

My new camera, the 7D, can take HD videos. Since I like food photography, I wanted to see how food videography would work. And are there a whole new set of issues. While a flash works well for a picture, a video needs constant light. And a lot of it at that. Halogen lights are cheap, but they are hot and need color correction. The next problem is syncing an external audio recorder with the video footage. The onboard audio microphone is minimalistic and is not good enough for a clean source. I now understand why clapper-boards are used. You need a quick and clear sound pulse to match against an obvious video event. I had to make due with clapping my hands. I also had to learn Adobe Premiere CS5 and Adobe After Effects CS5. Which are really complicated programs.

Cooking Video first test from Mark Hamzy on Vimeo.

whipping cream

For my first video, I decided to make butter. Which turned out to be surprisingly easy! I was shocked how simple it is to turn cream into butter. Just pour whipping cream into a blender, and blend it until it breaks. The only difficult part is trying to squeeze out any remaining liquid from the clumps of butter. And the leftover water (containing whey and small clumps of cream), called buttermilk, tastes pretty good.

I really should have made this before.

Making Butter from Mark Hamzy on Vimeo.

Cookbook Bookshelf shelf space

I have bought a number of cookbooks over the past year. They are:

Unfortunately, they have remained on my breakfast table instead of residing in the bookshelf. I am now motivated to place them where they belong. However, the bookshelf is already full. So books must be kicked out.

The cookbooks are (top shelf):

(middle shelf):

Black Bean salad

Black Bean Salad

Our group at work got together and held a pot-luck picnic at Emma Long Metropolitan Park. I decided to make a cold, black bean salad. It was pretty easy to make and turned out tasty. I cooked the beans and diced the remaining ingredients. It was a mixture of beans, cucumbers, tomatoes, and mangoes. Unfortunately, only a tiny bit was actually eaten by people. I kept a couple of meals worth for me. But threw out 95% of it because it sat out all day. Oh well, I guess I won’t go to the effort to make something from scratch again…

Cream Biscuits

Cream Biscuits ingredients

I came across this recipe from SmittenKitchen about an easy way to make biscuits and I had to try it. There are just five ingredients (well four if you don’t top it off with melted butter). You sift together flour, salt, and baking powder and then mix in heavy cream. The only problem that I have with this recipe is that it doesn’t mix smoothly or evenly. At least when I tried it by hand with a spatula. I’ll have to try it on a stand mixer the next time.

Baked in pan

The first time I made this, I just plopped down the dough onto a pan, sliced it with a knife and then put it into the oven. Unfortunately, it is not easy for the steam to escape using this method. The cooked biscuits are easy to stick in the freezer and the reheat later in a toaster oven.

Frozen biscuits

The next time I tried freezing the raw dough after I cut out a circle and topped it with melted butter.

Cooked Biscuit

You place a single frozen biscuit in a preheated toaster oven set to 350 and cook for 10-15 minutes. And it comes out like this! Which is best topped by sorghum syrup.

These biscuits are extremely tender. Perhaps too tender. I think you need to mix the batter more to encourage development of gluten.